How To Strip and Seal Vinyl Floors
- Written by Daily Sun
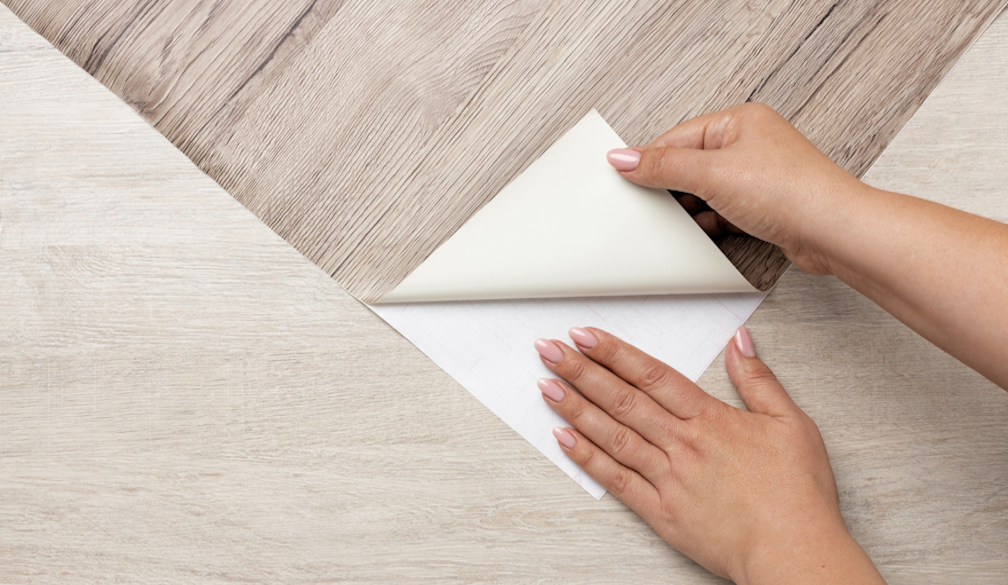
Vinyl floors are a popular choice for many homeowners due to their durability, affordability, and easy maintenance. However, over time, even the toughest vinyl floors can start to show signs of wear and tear. One effective way to revitalise your vinyl floors and keep them looking like new is by stripping and sealing them. In this guide, we'll walk you through the step-by-step process of floor strip and seal, ensuring your floors maintain their shine and longevity.
1. Assess the Condition of Your Floors
Before diving into the floor strip and seal process, take some time to assess the condition of your vinyl floors. Look for any areas with excessive dirt buildup, stains, or wax buildup. This evaluation will help determine the extent of cleaning and restoration needed for your floors.
2. Gather Your Supplies
To effectively strip and seal your vinyl floors, you'll need the following supplies:
- Floor stripper
- Scrubbing pads or brushes
- Bucket
- Neutralising solution
- Sealer
- Microfiber mop
- Safety goggles and gloves
Ensure you have all the necessary supplies on hand before starting the process to streamline the workflow and avoid interruptions.
3. Prepare the Area
Clear the room of any furniture or obstacles to provide ample space for the floor strip and seal process. Open windows or doors for ventilation, as some floor stripping products can emit strong odors. Additionally, ensure proper lighting to spot any missed areas during cleaning.
4. Apply the Floor Stripper
Follow the manufacturer's instructions for diluting the floor stripper with water. Using a mop or sprayer, apply the stripper evenly onto the vinyl floor surface. Allow the stripper to sit for the recommended dwell time to loosen dirt, wax, and other residues.
5. Scrub the Floor
Using scrubbing pads or brushes, agitate the floor surface to loosen stubborn dirt and wax buildup. Pay extra attention to high-traffic areas and corners where dirt tends to accumulate. Work in small sections to ensure thorough cleaning.
6. Rinse and Neutralise
After scrubbing, thoroughly rinse the floor with clean water to remove any remaining stripper residue. Then, apply a neutralising solution to neutralise the pH of the floor surface and prepare it for sealing. Follow the manufacturer's instructions for mixing and application.
7. Allow the Floor to Dry
Once the floor is thoroughly rinsed and neutralised, allow it to dry completely before applying the sealer. Proper drying is crucial to ensure the sealer adheres to the floor surface effectively.
8. Apply the Sealer
Using a microfiber mop or applicator, apply the sealer evenly onto the vinyl floor surface. Work in small sections, ensuring complete coverage. Allow the sealer to dry according to the manufacturer's instructions before walking on the floor or replacing furniture.
9. Repeat as Needed
Depending on the condition of your vinyl floors and the level of wear and tear, you may need to repeat the floor strip and seal process periodically to maintain their appearance and durability. Regular maintenance and proper cleaning can help extend the lifespan of your floors and keep them looking their best.

